I never intended to become an air fryer chicken evangelist. But when my oven died mid-week and four hungry faces stared at me expectantly at dinner time, that boxed kitchen gadget my sister insisted I'd love suddenly seemed worth unwrapping.
That desperate Tuesday night experiment? It changed my chicken game forever.
Here's the thing that nobody tells you about air fryer chicken - it's ridiculously fast. Thinly sliced breasts need just 10 minutes. A full chicken takes under an hour. Compare that to traditional roasting, and suddenly you've got back a chunk of your evening.
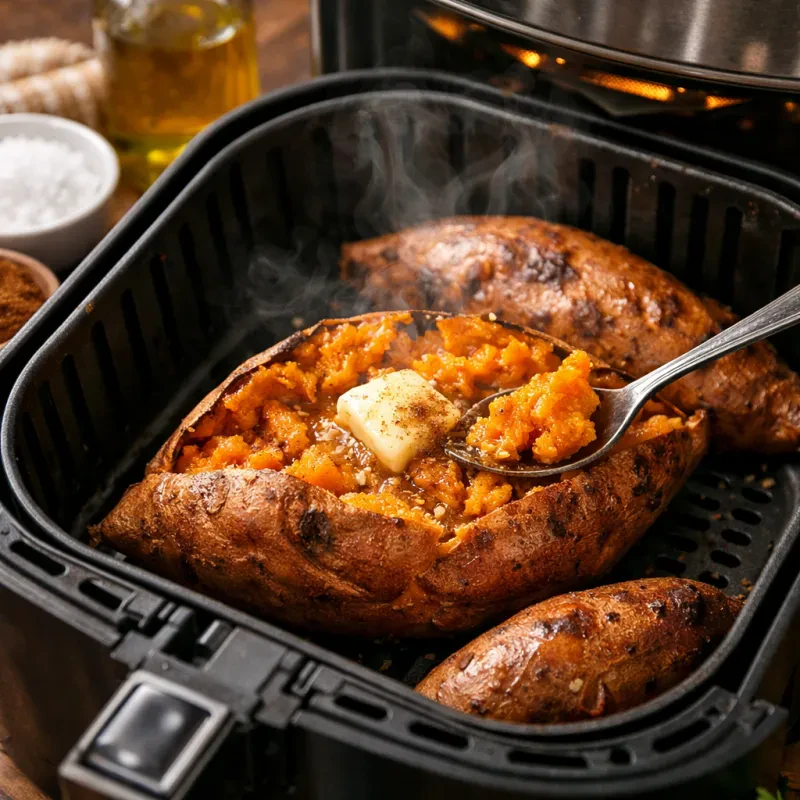
But speed isn't even the best part. It's that magical combination of crispy outside and juicy inside that keeps me coming back. I've found cooking chicken at about 375-400°F creates that golden, crackly skin we all secretly pick off when nobody's looking, while the circulating hot air somehow locks in all the moisture.
The principle is dead simple - whether you're cooking quick chicken strips or a whole Sunday roast bird, cook until you hit that magic 165°F internal temperature. That's your sweet spot for both food safety and chicken that isn't dry as cardboard.
My kitchen now has a new rule: if it clucks, it goes in the air fryer. Let me show you how to make chicken so good your family will think you've been hiding culinary skills from them all these years.
Choose the Right Chicken and Tools
My first attempt at air fryer chicken was... educational. I tried cramming a 5-pound bird into my compact model and nearly caused a small kitchen fire. Size matters, folks.
Let me save you from my mistakes. The right chicken in the right air fryer makes all the difference between a crispy masterpiece and a smoking disappointment.
Whole chicken vs. chicken pieces
The eternal question: go big or go pieces? It depends on what you're after.
A whole chicken in the air fryer creates that impressive "look what I made" centrepiece with golden skin all around. Takes about 40-60 minutes, depending on size. Not bad compared to traditional roasting.
Chicken pieces, though? Lightning fast. Boneless breasts need only about 15 minutes total, while bone-in thighs require roughly 25-30 minutes.
For chaotic Tuesday nights when everyone's starving and you're still answering work emails, chicken pieces win hands down. But when you want that Sunday lunch feeling - kids actually sitting at the table, proper napkins - nothing beats a whole roasted bird with that uniform flavour and "I'm a proper adult who can cook" presentation.
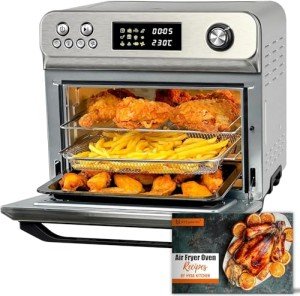
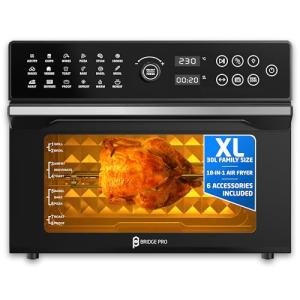
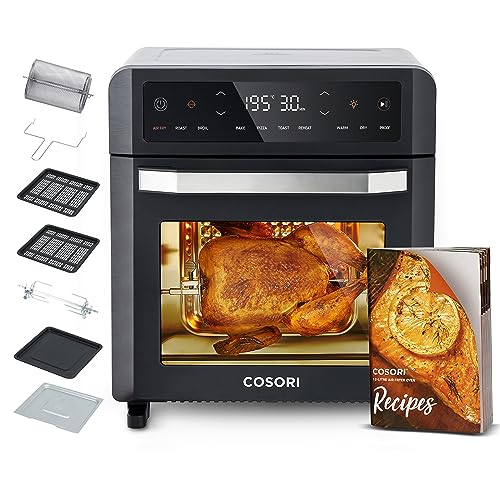
Best air fryer size for roasting
The day I upgraded to a larger air fryer, my partner gave me that "did we really need another kitchen gadget?" look. Two days and one perfect chicken later, the questions stopped.
Your air fryer size dictates what chicken fits:
- 5-6 quart capacity (minimum): Required for fitting most whole chickens
- Smaller models: Better suited for chicken pieces or those tiny Cornish hens
- Basket-style models: Provide excellent air circulation for crispy results
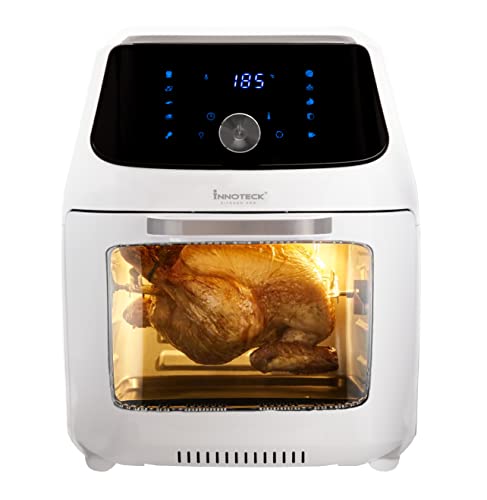
The kitchen forums I fell into at 2am (while researching air fryers... don't judge) consistently recommend Ninja Foodi, Ninja Foodi Dual, and Cosori models for whole chicken roasting. My friend Sarah swears by her 6-quart Instant Pot Vortex Plus, which handles medium-sized chickens between 3½ to 4 pounds without complaint.
Remember, your chicken needs breathing room. Cramming a too-large bird into a small air fryer is like wearing skinny jeans to Christmas dinner - nobody wins, and things get uncomfortably hot.
What to look for in a roasting chicken
Not all chickens are created equal for air frying. Size matters significantly:
- A chicken weighing 3-4 pounds for standard 6-quart air fryers
- Medium-sized chickens (approximately 1.6kg) for smaller 3.7L baskets
- High-quality, preferably organic birds for the best flavour
My biggest disaster? Trying to cook a supermarket "extra large" special. The poor thing barely fit, touched the heating element, and set off the smoke alarm. The dog still runs whenever I open the air fryer.
Ensure your chicken fits comfortably without touching the heating element, otherwise you'll experience burning, smoke, and disappointing results. If your chicken seems slightly too large, untying the legs or gently flattening it (sounds brutal, tastes delicious) can sometimes help it fit properly.
What makes air fryers magical is how they wrap food in rapidly moving hot air, creating crispy exteriors that conventional ovens can only dream about. It's like surrounding your chicken with dozens of tiny hair dryers set to "perfect crisp" - but much less weird.
Prep the Chicken for Maximum Flavour
Getting prepped right might be the most underrated part of air fryer chicken success. My first attempt? Let's just say I skipped a few steps below and ended up with something between rubber and leather. Learn from my mistakes.
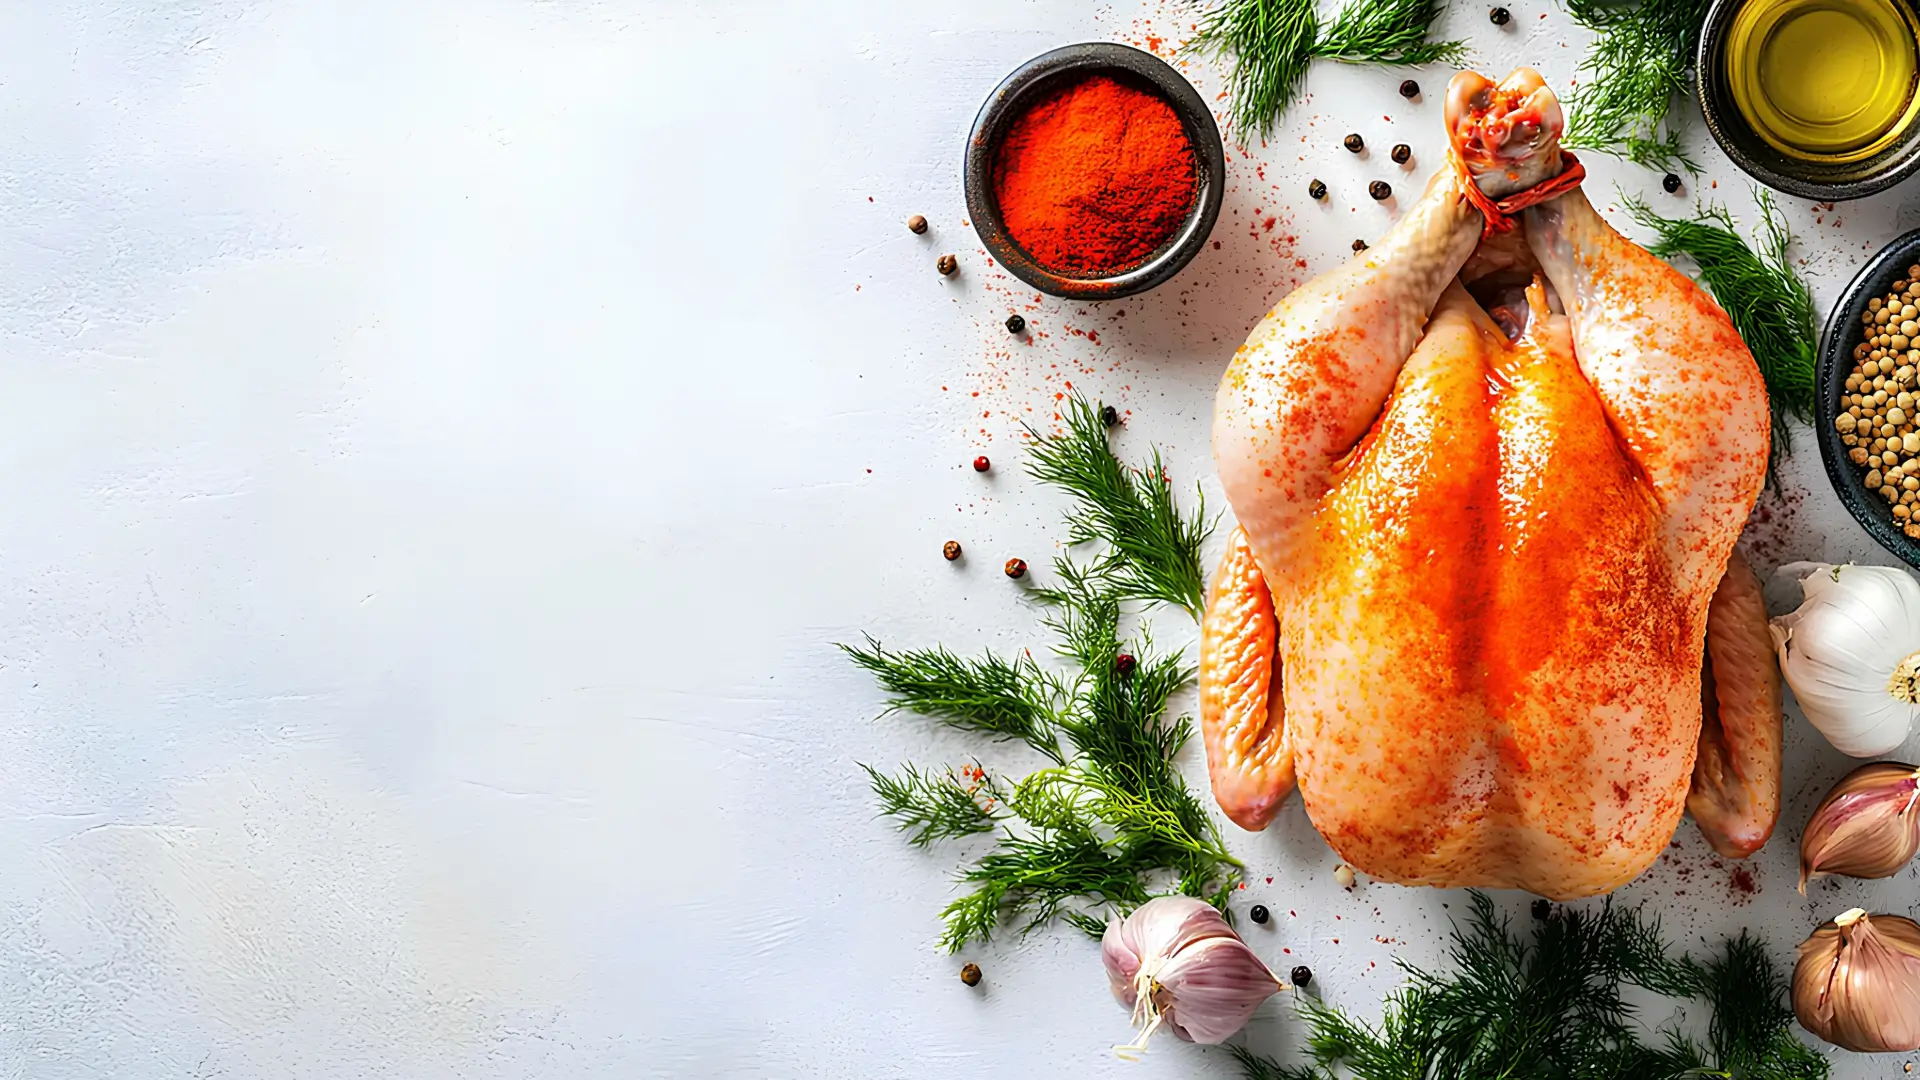
Pat dry and trim excess fat
First things first - pat that bird bone dry. No shortcuts here. Grab some kitchen roll and give your chicken a proper rubdown to remove all surface moisture. Why? Water and crispy skin are mortal enemies. Any dampness left will steam rather than crisp, and nobody wants soggy chicken skin.
While you're handling the chicken, trim off any loose bits of fat or flappy skin, especially around the cavity. Those dangly bits aren't just unsightly - they'll smoke like crazy in the air fryer, and suddenly your kitchen smells like a burning poultry factory. Not exactly the dinner ambience you're after.
For chicken pieces with bones, I've learned to give thicker sections a gentle bash with a rolling pin. Nothing violent - just enough to even things out so everything cooks at the same pace.
Apply oil and seasoning evenly
Once dry, your chicken needs a light oil coating. Think of it as sunscreen for your bird - it helps everything brown evenly. Olive oil works brilliantly, though avocado or vegetable oil do the job too.
For seasonings, I keep coming back to this foolproof combo:
- Paprika (gives gorgeous colour), garlic powder, and some dried thyme or oregano
- Salt and freshly ground black pepper (be generous)
- Sometimes onion powder or lemon zest when I'm feeling fancy
Don't just sprinkle from above and call it done. Get your hands properly messy and massage those seasonings everywhere - under wings, inside the cavity, in every nook. This isn't a time for British reserve. Channel your inner Jamie Oliver and get stuck in.
Optional: marinate or dry brine overnight
Want to take your chicken from decent to "did you get this from a restaurant?" Good. Try these:
Dry brining is my Sunday roast secret weapon. Sprinkle kosher salt (sometimes mixed with a bit of brown sugar) all over your chicken, then let it sit uncovered in the fridge overnight. What happens is properly clever - salt draws moisture out, then the chicken reabsorbs it along with all your seasonings. The result? Flavour that goes right through the meat, not just sitting on top.
Alternatively, marinating works wonders. Buttermilk turns chicken outrageously tender, or try oil with lemon juice and herbs. Thirty minutes works in a pinch, but if you can leave it for 4-12 hours, you'll notice the difference.
Just remember - after either method, pat everything dry again before it hits the air fryer. Crispy skin is still our mission here.
How to Roast Chicken in the Air Fryer
Right, let's get to the fun part. Your chicken's prepped, your air fryer's plugged in, and your family's giving you that "when's dinner ready?" look. Time to work some crispy-juicy magic.
Preheat (yes, it matters)
Look, I know it's tempting to chuck the chicken straight in. But trust me on this - those 5 minutes of preheating at 180°C (350°F) make all the difference. I learned this the hard way after several batches of "why-isn't-this-crispy" chicken.
The science is simple: a hot air fryer immediately sears the outside of your chicken, locking in those precious juices. A cold start equals soggy skin, and nobody wants that tragedy on their plate.
The upside-down trick
Here's where things get clever. Place your chicken breast-side down first. Sounds backwards, right? But this little flip-flop does two brilliant things:
- Protects the breast meat (the bit that dries out fastest) from direct heat
- Lets all those lovely juices run down into the breast, essentially self-basting
Cook it this way for about 30 minutes. If you're dealing with a proper family-sized bird (around 4 pounds), you might need 45-50 minutes in this position.
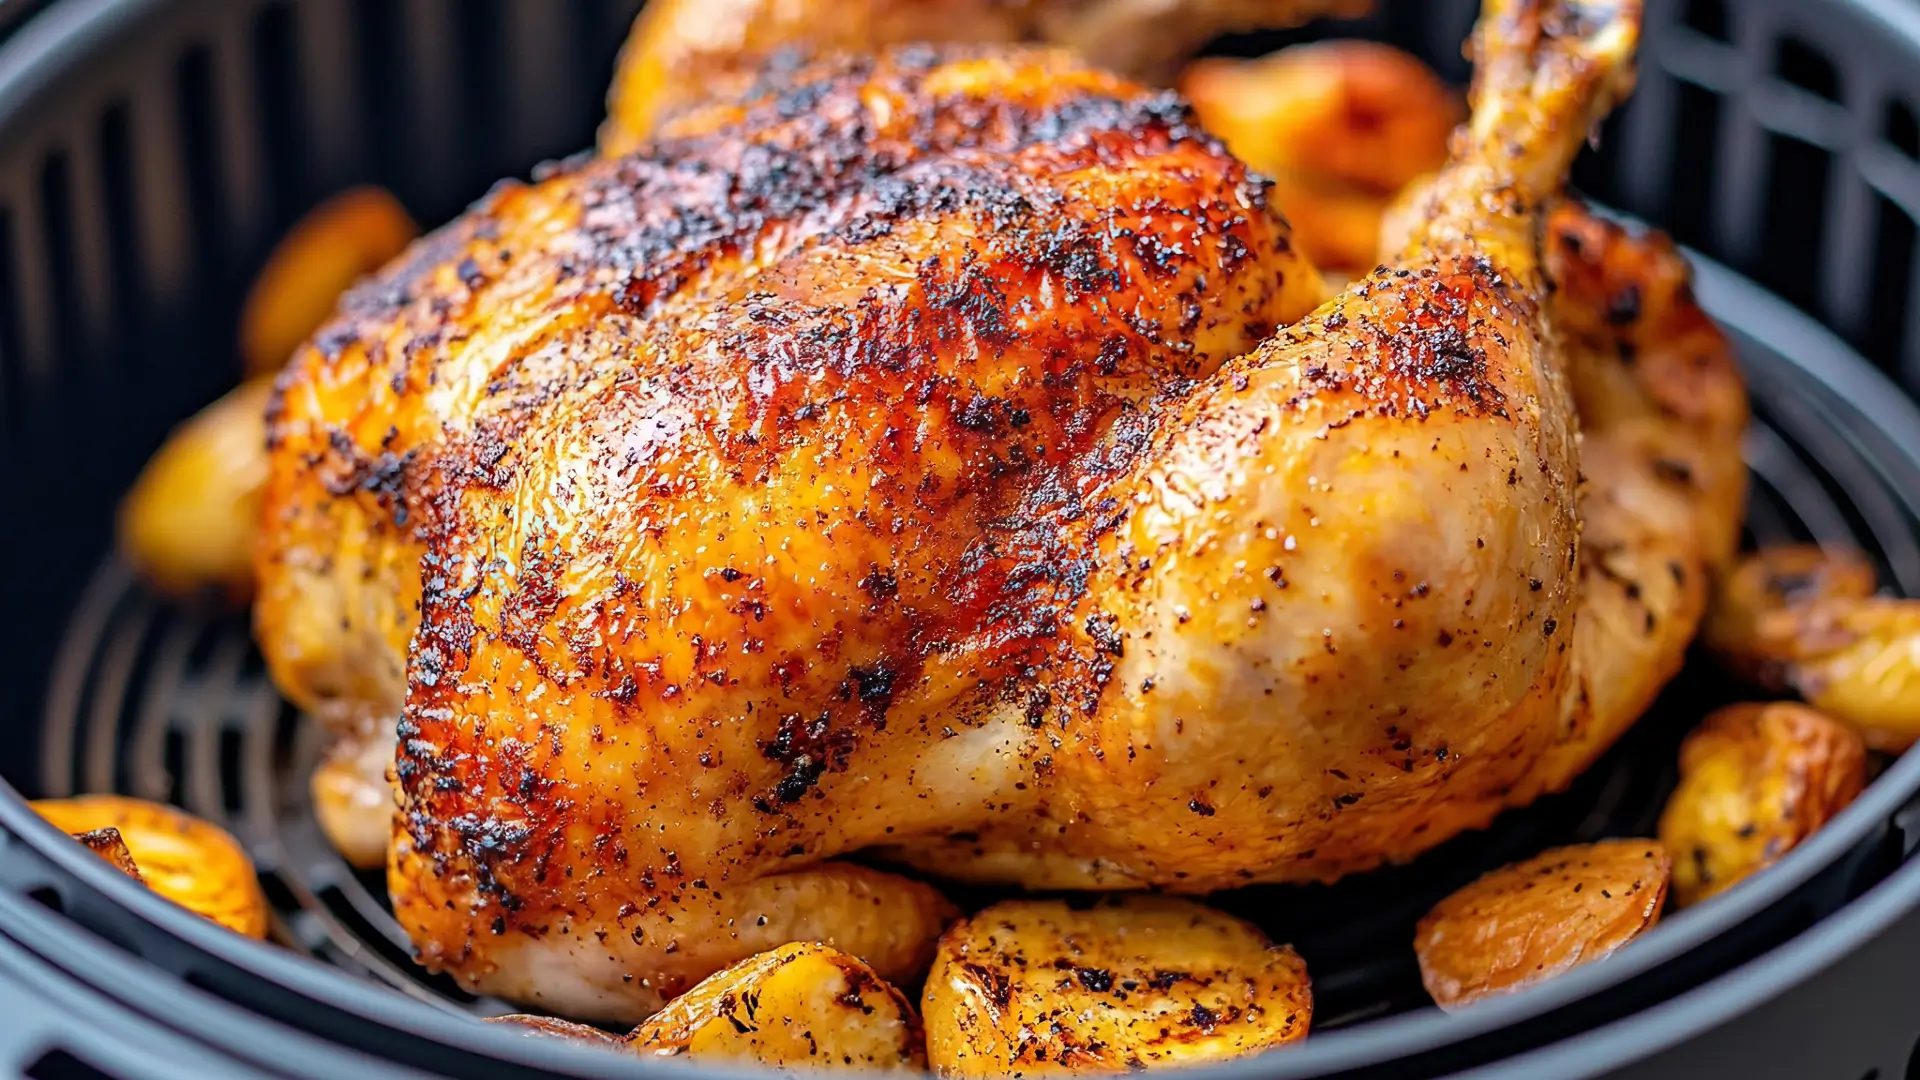
The golden finale
After that initial cooking, it's time for the grand reveal. Grab your tongs and carefully flip the chicken breast-side up. Yes, it'll look a bit pale and sorry for itself at this stage. Don't panic - that's perfectly normal.
Continue cooking for another 10-20 minutes at the same temperature. If you're after that pub-roast level of crispiness, crank the heat up to 200°C for the final 10 minutes. I call this the "make your neighbours jealous" setting because the smell that wafts out is simply criminal.
The moment of truth: temperature check
I've cooked more chickens than I care to count, and I still use a meat thermometer every single time. It's not about skill; it's about safety and perfect juiciness.
Poke the thermometer into the thickest part of the breast (avoid hitting bone, it gives false readings) and look for 75°C/165°F. For those who prefer dark meat, thighs should reach 77-79°C (170-175°F).
No thermometer? Pierce the thickest part of the thigh - the juices should run completely clear with no pink tinge. But honestly, meat thermometers cost about £10 and save both worries and disappointing dinners. Worth every penny.
Serving, Storing and Reheating Tips
The chicken's done, the house smells amazing, and your stomach's rumbling. But hold up - there's an art to the finish line. Getting from "cooked" to "best chicken you've ever made" comes down to these last few moves.
Let the chicken rest before carving
My biggest kitchen crime used to be diving straight in with the knife. Big mistake.
Give that bird at least 10 minutes of peace after its air fryer adventure. This isn't just chef nonsense - those juices need time to redistribute throughout the meat. Skip this step and you'll watch all that glorious moisture pool onto your cutting board instead of staying in your chicken.
For bigger chickens (the Sunday lunch heroes), I stretch the rest to 15-20 minutes. Trust me on this one. The extra patience pays off in juiciness.
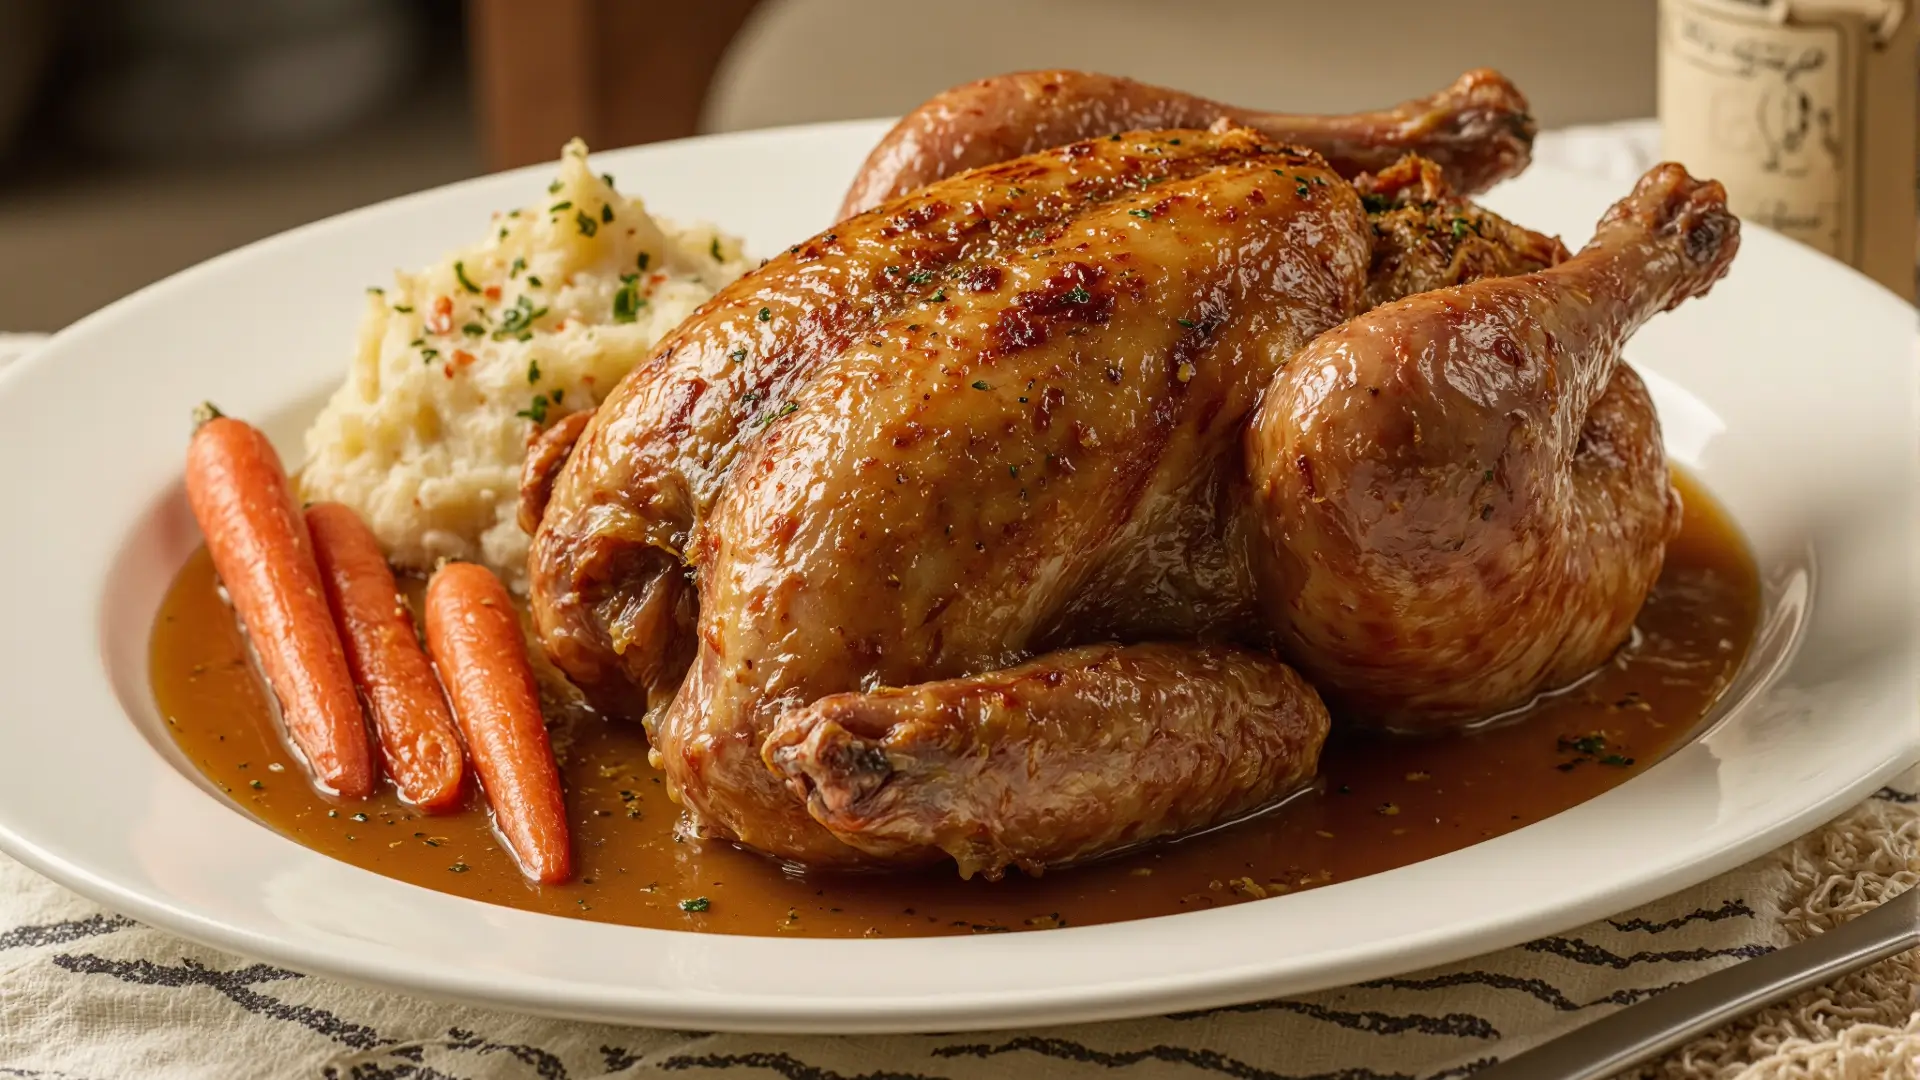
Best sides to serve with roast chicken
What goes with air fryer chicken? Almost anything, which is part of its charm. My household favourites:
Weeknight quick sides:
- Air fryer chips (chuck them in after the chicken rests)
- Simple green salad with a punchy dressing
- Microwave-steamed veg tossed with butter and black pepper
When I'm feeling fancy:
- Roasted potatoes with garlic and rosemary
- Brussels sprouts with bacon bits (the kids actually eat these)
- Rocket, pumpkin and goat's cheese salad that makes me feel posh
The beauty of roast chicken is its flexibility. It's happy alongside nearly anything from hearty mash to light garden greens.
How to store leftovers safely
Whenever I cook a whole chicken, I'm secretly plotting for leftovers. They're kitchen gold.
Get that chicken into the fridge within two hours of cooking. Properly stored in an airtight container, you've got 3-4 days of meal potential waiting for you.
My leftover hack: Shred the chicken while it's still slightly warm. So much easier than trying to pull cold chicken apart, and perfect for sandwiches, soups, or tacos later in the week.
And whatever you do, don't bin the carcass! Chuck it in a pot with some veg scraps, simmer for an hour, and you've got chicken stock that puts the boxed stuff to shame.
Reheating without drying it out
The microwave is chicken's enemy. If you've gone to all this trouble for perfect chicken, don't ruin the leftovers.
The air fryer that cooked your chicken? It's also brilliant at resurrection. Preheat to 160°C, lay your chicken pieces in a single layer, and give them about 5 minutes, flipping halfway through.
What you'll get is something miraculous - chicken that's almost as good as when you first made it. The skin crisps back up, and the meat stays juicy rather than turning to chicken-flavoured cardboard.
Always make sure reheated chicken hits 74°C inside for safety. A food thermometer isn't just for cooking - it's for reheating too.
Verdict - Is Air Fryer Chicken Worth Your Time?
Let me cut to the chase. My old roast chicken routine involved a hot oven, lots of waiting, and that slightly panicked "is it actually cooked?" moment when I carved into the thigh.
My air fryer chicken journey? It's been a game-changer.
I'm not usually one for kitchen gadget evangelism. Most contraptions end up gathering dust next to the bread maker I swore I'd use weekly. But air fryer chicken has earned permanent counter space in my kitchen for three simple reasons:
First, the time saving is genuinely significant. A whole chicken in under an hour without compromise on taste? That's proper cooking magic.
Second, that skin. Oh, that skin. Properly crispy without being burnt, with meat underneath that doesn't resemble sawdust. The kind of chicken that makes you briefly forget your table manners as you pick off just one more crispy bit.
Third, it's nearly foolproof. Follow the basics - right size bird, proper preheating, cooking breast-down first, then flipping, and checking temperature - and you're golden. Literally, your chicken is golden.
The method isn't perfect. There's a learning curve with timing depending on your specific air fryer. My first attempt ended with a slightly overdone breast because I forgot chicken continues cooking during resting time. Still learning, aren't we all?
If you've read this far, you're probably wondering if I've gone slightly mad about chicken. Perhaps. But when something so simple makes dinner so much better, it's worth a bit of enthusiasm.
Give it a go. Start with chicken pieces if you're nervous, then graduate to a whole bird. Your Sunday roast might never be the same again. And unlike most cooking adventures, this one actually gives you time back rather than taking it away.
Not bad for a kitchen gadget I initially dismissed as another passing fad.
FAQs
Q1. How can I achieve crispy skin on my air fryer roast chicken? To get crispy skin, pat the chicken dry before cooking, lightly coat it with oil, and cook at 180°C (350°F) for about 40 minutes. For extra crispiness, increase the temperature to 200°C for the final 10-15 minutes of cooking.
Q2. What's the best way to prevent chicken from drying out in an air fryer? To keep chicken moist, cook it breast-side down first, then flip it over to finish. Use a meat thermometer to avoid overcooking - the internal temperature should reach 75°C (165°F) in the thickest part of the breast.
Q3. How long should I let the chicken rest after air frying? Allow the chicken to rest for at least 10 minutes after cooking. This crucial step allows the juices to redistribute throughout the meat, resulting in a juicier and more flavourful chicken.
Q4. What size chicken fits best in a standard air fryer? For a standard 6-quart air fryer, choose a chicken weighing 3-4 pounds (about 1.4-1.8 kg). Ensure the chicken fits comfortably in the basket without touching the heating element for even cooking.
Q5. How can I reheat leftover air fryer roast chicken without drying it out? To reheat, preheat your air fryer to 160°C (325°F) and place chicken pieces in a single layer. Cook for about 5 minutes, flipping halfway through. This method quickly restores crispness to the skin while keeping the meat juicy.