Table of Contents
1. Introduction: The Joy of Air Fryer Gammon
2. Understanding Gammon: What Makes It Special
3. Preparing Your Gammon Joint for the Air Fryer
4. Perfect Temperature and Timing Guide
5. Delicious Glazes to Elevate Your Gammon
6. Step-by-Step Cooking Method
7. Serving Suggestions and Accompaniments
8. Troubleshooting and FAQs
9. Conclusion: Why Air Fryer Gammon Is a Game-Changer
1. Introduction: The Joy of Air Fryer Gammon
It was a chilly Sunday afternoon when I first discovered the absolute marvel of cooking a gammon joint in my air fryer. Having spent years laboriously boiling and then roasting these magnificent cuts of meat, I stood somewhat skeptically before my new kitchen gadget, wondering if it could possibly deliver the same succulent, flavourful results I'd come to expect from the traditional method. Little did I know that this experiment would revolutionise my Sunday roasts forever.
If you're wondering how to cook gammon joint in air fryer, you've stumbled upon a culinary revelation that will transform your mealtimes. The air fryer method isn't merely a convenient alternative - it's a game-changing technique that produces a perfectly cooked joint with a gloriously crispy exterior and tender, juicy meat within. All this while slashing your cooking time and energy consumption.
The beauty of air fryer gammon lies not just in its efficiency but in its versatility. Whether you're preparing a magnificent centrepiece for a festive gathering, sorting Sunday lunch for the family, or simply meal prepping for the week ahead, this method delivers consistently impressive results with minimal fuss. The air fryer creates a beautiful environment for the gammon to cook evenly, allowing the fat to render perfectly whilst keeping the meat deliciously moist.
Throughout this comprehensive guide, I'll walk you through everything you need to know about cooking gammon in your air fryer. From selecting the perfect joint and preparing it properly, to mastering temperatures and timings, creating show-stopping glazes, and serving your masterpiece with complementary sides. By the time you've finished reading, you'll be equipped with all the knowledge needed to create a spectacular air fryer gammon that will have your guests clamouring for seconds.
So pop the kettle on, make yourself comfortable, and prepare to discover why air fryer gammon is rapidly becoming the preferred method for home cooks across Britain. Your culinary adventure begins now.
2. Understanding Gammon: What Makes It Special
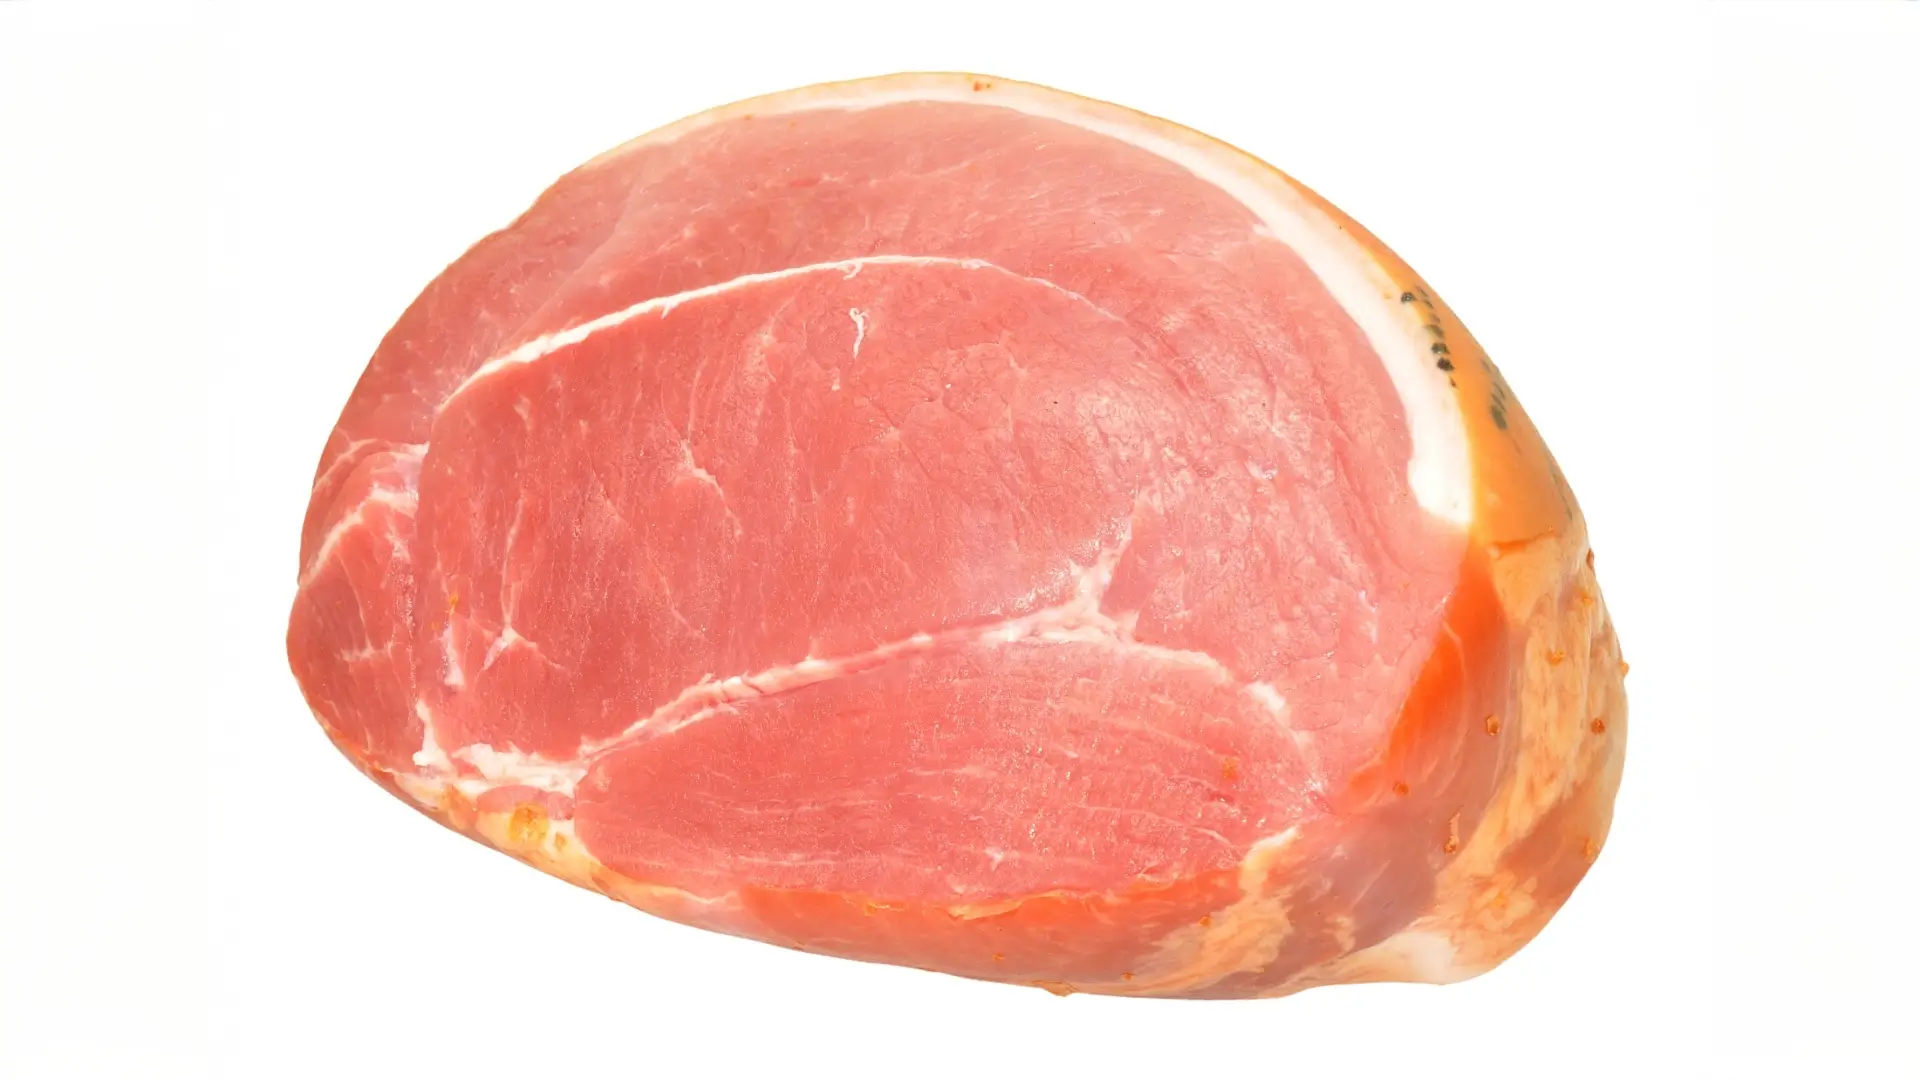
Before we delve into the intricacies of air fryer cooking, let's take a moment to appreciate the magnificent cut of meat that is gammon. Many home cooks find themselves puzzled by the distinction between gammon and ham, and I must confess, I once stood bewildered in the supermarket aisle myself, pondering this very question.
Gammon, you see, is a cut of pork from the hind legs of the pig that has been cured in the same manner as bacon. The crucial difference that sets gammon apart is that it is sold raw and requires cooking before consumption, whereas ham is already cooked and ready to eat. In essence, gammon transforms into ham once it's been properly cooked—a rather delightful metamorphosis that takes place in your air fryer.
The British have long held a special affection for gammon. It graces our tables at Christmas, stars in pub classics like gammon, egg and chips, and makes for splendid sandwiches when cold. Its versatility is unmatched, working beautifully in everything from hearty soups to elegant terrines. For those new to air fryer gammon joint for beginners, you'll find this cut particularly forgiving, which makes it perfect for your culinary experiments.
Gammon joints come in various forms to suit different preferences. You might encounter smoked gammon, which offers a deeper, more robust flavour profile with delightful woody undertones. Alternatively, unsmoked gammon presents a milder, more delicate taste that allows glazes and seasonings to shine through. Both varieties perform splendidly in the air fryer, so your choice should reflect your personal preference.
What makes gammon particularly well-suited to air fryer cooking is its generous fat content. The air fryer's circulating hot air works magnificently to render this fat, basting the meat naturally as it cooks and creating that coveted crispy exterior. Unlike traditional methods that might leave your kitchen filled with steam or your oven splattered with fat, the air fryer contains everything neatly while producing exceptional results.
Another advantage of gammon is its affordability compared to other joints of meat. It offers tremendous value, especially when you consider how many meals you can create from a single joint. From your Sunday roast to sandwiches, salads, and pasta dishes throughout the week, a well-cooked gammon joint is the gift that keeps on giving.
So as we prepare to transform this humble joint into something spectacular, remember that you're participating in a long-standing British culinary tradition—albeit with a thoroughly modern twist. The air fryer might be a recent innovation, but it has proven itself to be the perfect partner for this time-honoured favourite.
3. Preparing Your Gammon Joint for the Air Fryer
The journey to a perfect air fryer gammon begins well before you switch the appliance on. Proper preparation is the unsung hero of exceptional results, and I've learned through many Sunday lunches that a little attention at this stage pays delicious dividends later.
When selecting your gammon joint, size matters tremendously. I recall my first attempt at cooking 750g gammon joint in air fryer – a perfect starting point for most standard household air fryers. The beauty of this size is that it cooks relatively quickly while still providing ample servings for a family meal with leftovers to spare. If you're fortunate enough to possess a larger air fryer model, you might venture toward a 1kg or even 1.5kg joint, but do ensure there's sufficient space for the hot air to circulate properly around the meat.
Upon bringing your gammon home, you'll want to remove it from the refrigerator approximately 30-45 minutes before cooking. This allows the meat to reach room temperature, ensuring more even cooking throughout. While it's tempting to skip this step when you're in a hurry, those extra minutes make a remarkable difference to the final texture.
Next comes the question that divides kitchens across Britain: to soak or not to soak? Modern gammon joints are typically less salty than their predecessors, but if you're particularly sensitive to salt or have purchased a traditionally cured joint, a brief soak can be beneficial. Submerge your joint in cold water for 30 minutes to an hour, changing the water once or twice. This gentle process draws out excess salt without compromising the meat's inherent flavour.
Now we arrive at another crucial decision point – the foil question. In my experience, air fryer gammon joint wrapped in foil produces consistently excellent results. The foil creates a microenvironment that helps the meat cook evenly and retain moisture. I recommend wrapping your joint loosely in foil for the initial cooking phase, ensuring the foil doesn't touch the fat cap to prevent sticking. This method strikes the perfect balance between steaming and roasting, giving you that coveted juicy interior.
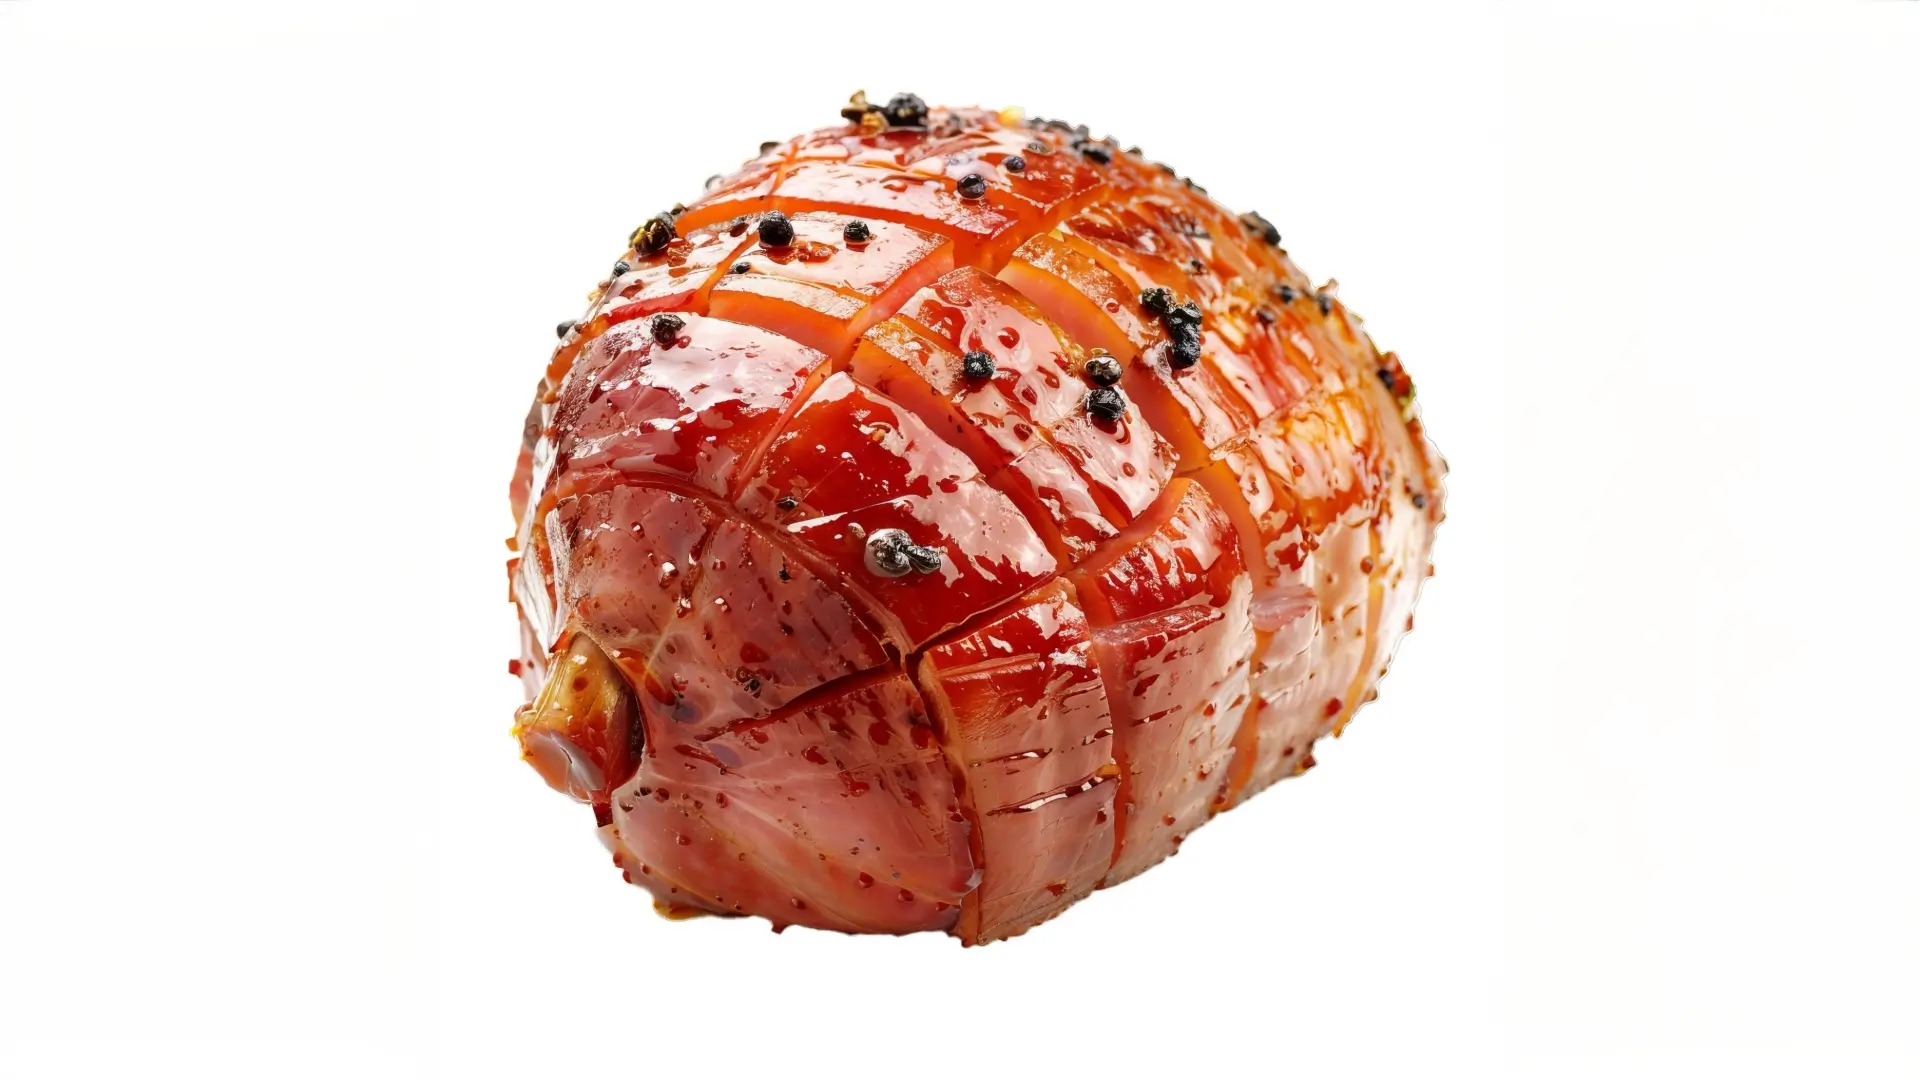
Before wrapping, however, comes one of the most satisfying preparatory steps: scoring the fat. How to score gammon joint for air fryer cooking is straightforward but important. Using a sharp knife, create shallow diagonal cuts across the fat cap in a diamond pattern, being careful not to cut into the meat below. This scoring serves multiple purposes – it allows excess fat to render away, creates more surface area for your glaze to cling to, and results in those irresistibly crispy fat diamonds that are often fought over at the dinner table.
If you're planning to use a glaze (which I heartily recommend), you might consider studding the intersections of your diamond pattern with cloves. These aromatic spices infuse the fat with a warm, festive flavour that complements the natural sweetness of the meat beautifully. It's an optional step, but one that elevates your gammon from delicious to truly memorable, especially for special occasions.
With your gammon joint properly prepared – brought to room temperature, perhaps soaked, scored with precision, and loosely wrapped in foil – you're now ready to transform this humble cut into something spectacular. The groundwork has been laid for air fryer magic to happen.
4. Perfect Temperature and Timing Guide
One of the most frequent questions I receive about air fryer gammon joint temperature and time is precisely how long and at what heat to cook these magnificent joints. It's a valid concern – nobody wants to present their family with an undercooked joint, nor do we wish to serve meat that's been rendered dry through excessive cooking. Allow me to share my carefully tested guidelines that have never failed to produce spectacular results.
The beauty of air fryer cooking lies in its consistency, but we must acknowledge that different models may have slight variations. I've found that a temperature of 170°C (340°F) works brilliantly as a starting point for most basket air fryers and air fryer ovens. This moderate heat allows the gammon to cook thoroughly without scorching the exterior before the centre reaches perfection.
When it comes to timing, the weight of your joint is the determining factor. Through countless Sunday lunches and festive gatherings, I've developed this reliable timetable:
For a 500g joint, allow 25 minutes at 170°C (340°F) with the joint wrapped in foil, followed by 15-20 minutes unwrapped at 180°C (360°F) with your glaze applied.
If you're cooking 750g gammon joint in air fryer, extend the initial cooking time to 30 minutes at 170°C (340°F), followed by the same 15-20 minutes unwrapped at the higher temperature.
For a 1kg joint, which provides a magnificent centrepiece with plenty of leftovers, 35 minutes at 170°C (340°F) wrapped in foil creates the perfect foundation, before unwrapping and glazing for the final 15-20 minutes.
Larger joints of 1.5kg will require approximately 45 minutes of initial cooking, while a 2kg joint (do check it fits in your air fryer first!) needs a full hour at the initial temperature.
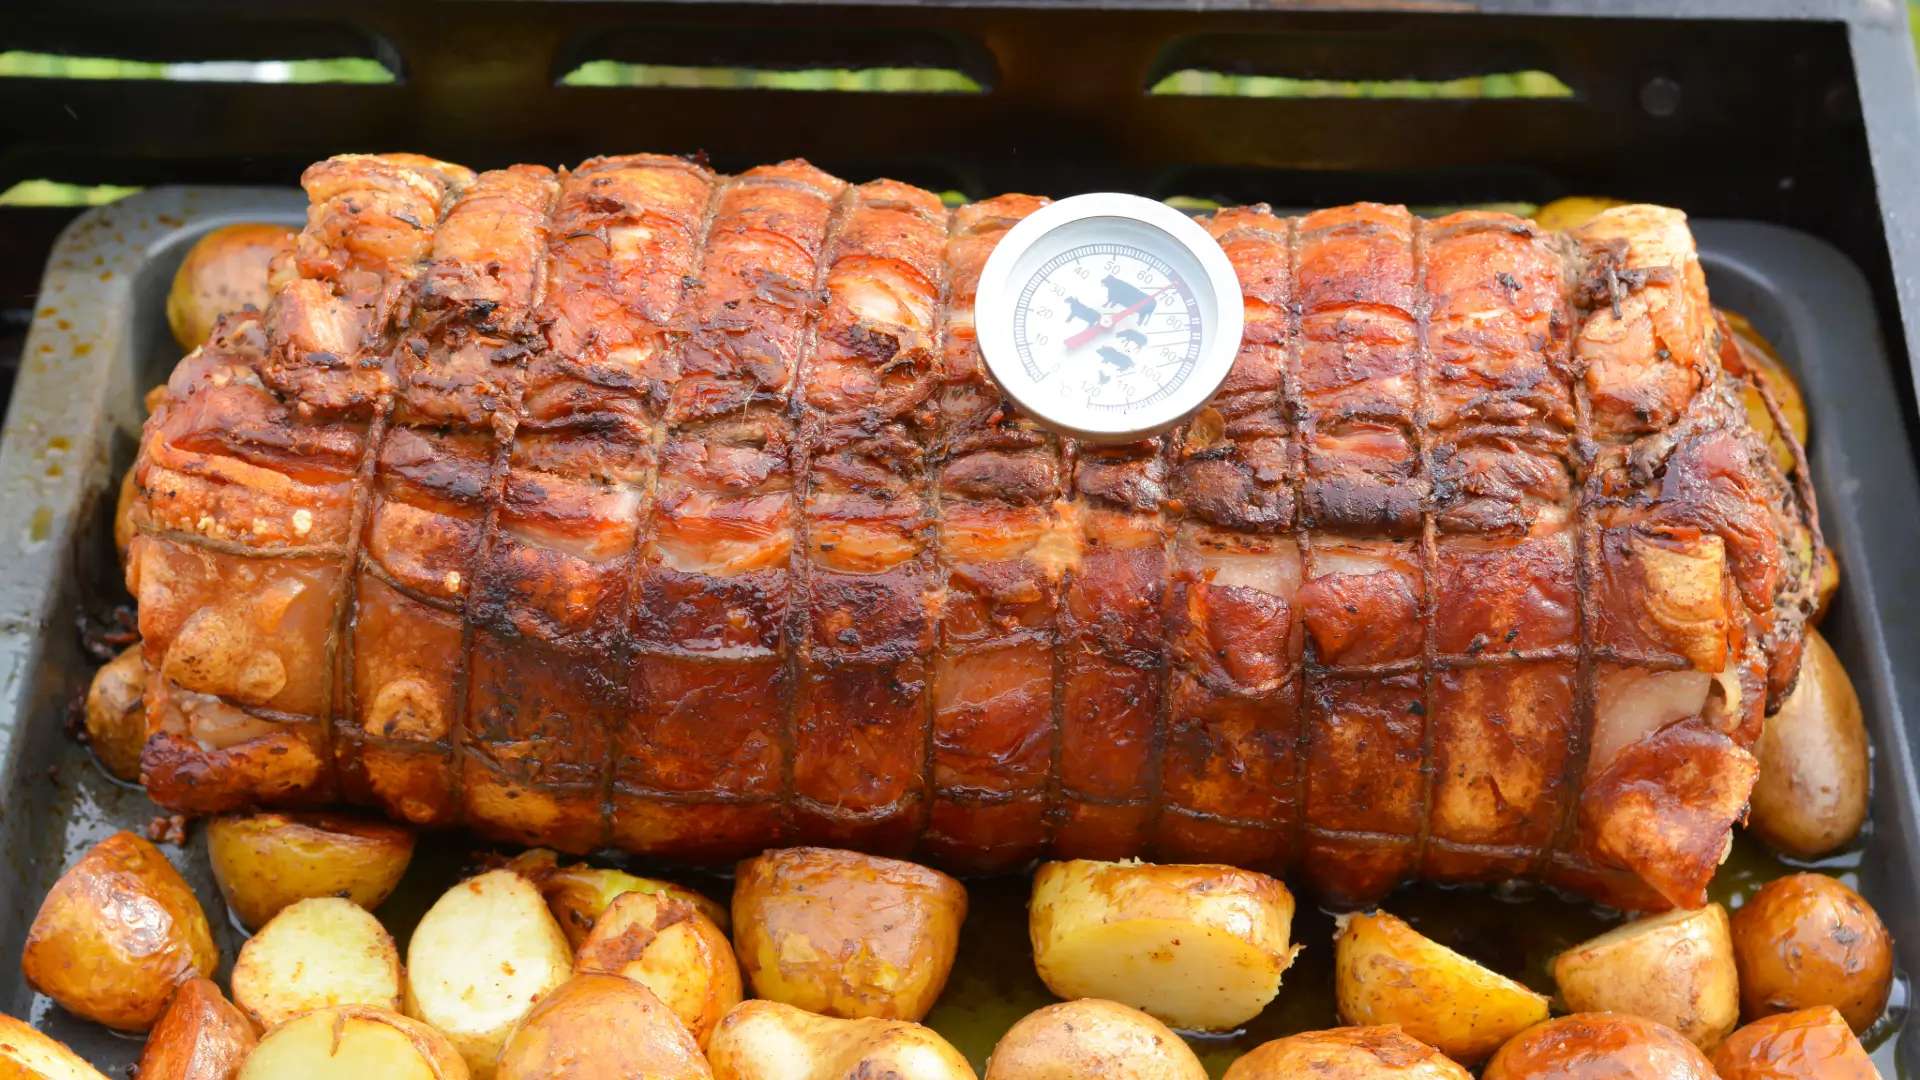
Rather than relying solely on timing, however, I strongly advocate for the use of a meat thermometer – a modest investment that eliminates guesswork entirely. When checking how to tell when gammon joint is done in air fryer, insert your thermometer into the thickest part of the meat, avoiding contact with any bone. The magic number you're seeking is 62°C (145°F). At this temperature, your gammon is perfectly cooked – safe to eat while remaining gloriously juicy.
The resting period after cooking is not merely a convenient time to prepare your vegetables – it's an essential part of the cooking process itself. As the meat rests, the internal temperature continues to rise slightly, and the juices redistribute throughout the joint. For most gammon joints, a 10-minute rest is sufficient, though I recommend extending this to 15 minutes for joints over 1.5kg. Loosely tent some foil over the meat to keep it warm without creating condensation that would soften your beautifully crisp exterior.
It's worth noting that these timings assume you've brought your gammon to room temperature before cooking. A chilled joint straight from the refrigerator will require slightly longer cooking times – approximately 5 minutes extra for the initial wrapped phase.
The transformation that occurs during this carefully timed cooking process is nothing short of magical. The initial wrapped phase allows the meat to cook gently in its own juices, while the second unwrapped phase with a higher temperature creates that irresistible caramelised exterior. The result is a perfect harmony of textures – crisp, sticky glaze giving way to moist, tender meat that slices beautifully.
With these temperature and timing guidelines in your culinary arsenal, you're well-equipped to achieve consistent, impressive results every time you cook gammon in your air fryer. The days of anxiously checking and rechecking your joint are behind you – instead, you can confidently predict when your magnificent centrepiece will be ready to grace your table.
5. Delicious Glazes to Elevate Your Gammon
While a perfectly cooked gammon joint is delightful in its own right, the application of a thoughtfully crafted glaze transforms it into something truly extraordinary. The best glaze for air fryer gammon joint creates a beautiful harmony of flavours – sweet, tangy, and sometimes spiced – that complements the natural saltiness of the meat. Over years of Sunday roasts and festive gatherings, I've experimented with countless combinations, and I'm delighted to share my most successful creations with you.
The classic honey and mustard glaze remains a perennial favourite in British households, and with good reason. There's something magical about the marriage of sweet honey with the gentle heat of mustard that seems tailor-made for gammon. For my mustard and honey glaze for air fryer gammon, I combine three tablespoons of clear honey with two tablespoons of Dijon mustard, a teaspoon of wholegrain mustard for texture, and a gentle grinding of black pepper. This simple yet sophisticated combination creates a glossy, amber coating that caramelises beautifully in the air fryer.
For those special occasions when you're preparing air fryer gammon joint for Christmas dinner, a festive glaze elevates your centrepiece to new heights. My yuletide favourite combines three tablespoons of maple syrup with two tablespoons of cranberry sauce, a tablespoon of orange juice, a cinnamon stick, and three cloves. Gently warm these ingredients in a small saucepan until they form a syrupy consistency, then remove the cinnamon stick before brushing over your joint. The aroma that fills your kitchen as this glaze caramelises is nothing short of Christmas in culinary form.
If you're feeling adventurous, consider a more exotic approach with a sticky ginger and soy glaze. Combine three tablespoons of brown sugar with two tablespoons of soy sauce, a tablespoon of grated fresh ginger, and a crushed garlic clove. This creates a wonderfully aromatic coating with an umami depth that complements the gammon beautifully. It's particularly splendid when you're serving your joint with Asian-inspired sides.
For those who appreciate a touch of the Caribbean, a rum and brown sugar glaze offers a delightful twist. Mix four tablespoons of dark brown sugar with two tablespoons of dark rum, a teaspoon of allspice, and the juice of half an orange. This creates a molasses-rich coating that transforms into a gloriously sticky crust during the final cooking phase.
The timing of glaze application is crucial to achieving that perfect finish. I've found that the most successful approach is to apply your chosen glaze after the initial wrapped cooking phase, once you've removed the foil. Brush the glaze generously over the scored fat, ensuring it penetrates the diamond cuts you've made. Return the joint to the air fryer at a slightly higher temperature – 180°C (360°F) works brilliantly – for the final 15-20 minutes of cooking.
For an even more intense flavour, consider applying your glaze in layers. Brush a coating onto the joint, allow it to cook for 5-7 minutes until it begins to caramelise, then apply a second layer. This creates a beautifully built-up, multi-dimensional finish that looks as impressive as it tastes. Just be vigilant during this final phase, as the high sugar content in most glazes can catch and burn if left unattended for too long.
The transformation that occurs during this glazing process is truly remarkable. What begins as a simple mixture becomes a glossy, burnished coating that not only enhances the flavour of your gammon but creates that show-stopping appearance that draws appreciative gasps when brought to the table. The air fryer's circulating heat works particularly well for glazes, creating an even caramelisation that would be difficult to achieve in a conventional oven.
Whichever glaze you choose, remember that this final flourish is your opportunity to put your personal stamp on the dish. Don't be afraid to adjust the sweetness, spicing, or consistency to suit your palate – cooking is, after all, a deeply personal expression of creativity and care.
6. Step-by-Step Cooking Method
Now that we've covered the theory, let's walk through the practical process of cooking your gammon joint in the air fryer. I'll guide you through each stage, from preparation to that glorious moment when you present your masterpiece at the table.
Step 1: Preparation
Begin by removing your gammon joint from the refrigerator approximately 30-45 minutes before cooking. This allows it to reach room temperature, ensuring more even cooking throughout. While you wait, preheat your air fryer to 170°C (340°F) for about 5 minutes.
If your joint has string or netting, you'll need to make a decision. For smaller joints, I often remove these entirely to allow the hot air to circulate freely. For larger joints, particularly those over 1kg, I find that keeping the string in place helps the meat maintain its shape during cooking. If you do remove it, don't worry – your joint may spread slightly but will still cook beautifully.
Step 2: Initial Wrapping
Take a piece of foil large enough to wrap around your gammon joint loosely. The key word here is 'loosely' – you want to create a parcel that will contain the juices without pressing tightly against the meat. If your joint has a fat cap, position it facing upwards within the foil parcel.
For those wondering about air fryer gammon joint without boiling, this foil-wrapping technique is your secret weapon. It creates a gentle steaming environment within the parcel, mimicking some of the benefits of boiling but with far less effort and washing up.
Step 3: First Cooking Phase
Place your foil-wrapped joint in the preheated air fryer basket. Cook according to the weight-based timings we discussed earlier:
- 500g joint: 25 minutes
- 750g joint: 30 minutes
- 1kg joint: 35 minutes
- 1.5kg joint: 45 minutes
- 2kg joint: 60 minutes
During this phase, the gammon gently cooks in its own juices, becoming tender and succulent. This is the perfect time to prepare your glaze and any accompaniments you plan to serve.
Step 4: Unwrapping and Scoring
Once the initial cooking time is complete, carefully remove the joint from the air fryer. Open the foil parcel, being mindful of the hot steam that will escape. If you haven't scored the fat cap before cooking, now is the time to do so, creating that classic diamond pattern with a sharp knife.
For those who soaked their gammon before cooking to reduce saltiness, you might find that the joint has released quite a bit of liquid into the foil. This is perfectly normal and actually a good sign that excess salt has been drawn out during cooking.
Step 5: Glazing
Apply your chosen glaze generously over the scored fat cap, ensuring it penetrates into the diamond cuts. This is where the magic happens – the combination of rendered fat and sweet glaze will create that irresistible sticky, crispy exterior that makes air fryer gammon so special.
Step 6: Final Cooking Phase
Return the unwrapped, glazed joint to the air fryer, this time increasing the temperature to 180°C (360°F). Cook for a further 15-20 minutes, keeping a watchful eye during the final few minutes to ensure the glaze caramelises beautifully without burning.
If you're wondering how to tell when gammon joint is done in air fryer, this is where a meat thermometer proves invaluable. InsePlease insertinto the thickest part of the joint, avoiding any bone. You're aiming for an internal temperature of 62°C (145°F), which indicates perfect doneness.
Step 7: Resting
Once your gammon has reached the correct internal temperature and sports a gloriously caramelised exterior, remplease ove it from the air fryer and place it on a warm serving platter. Tent loosely with foil and allow it to rest for 10-15 minutes, depending on the size of your joint.
This resting period is non-negotiable, I'm afraid. It allows the meat's juices to redistribute throughout the joint, resulting in a more tender, succulent texture when carved. I know the temptation to dive straight in is strong – the aroma alone is enough to test anyone's patience – but this brief wait will be rewarded with superior results.
Step 8: Carving and Serving
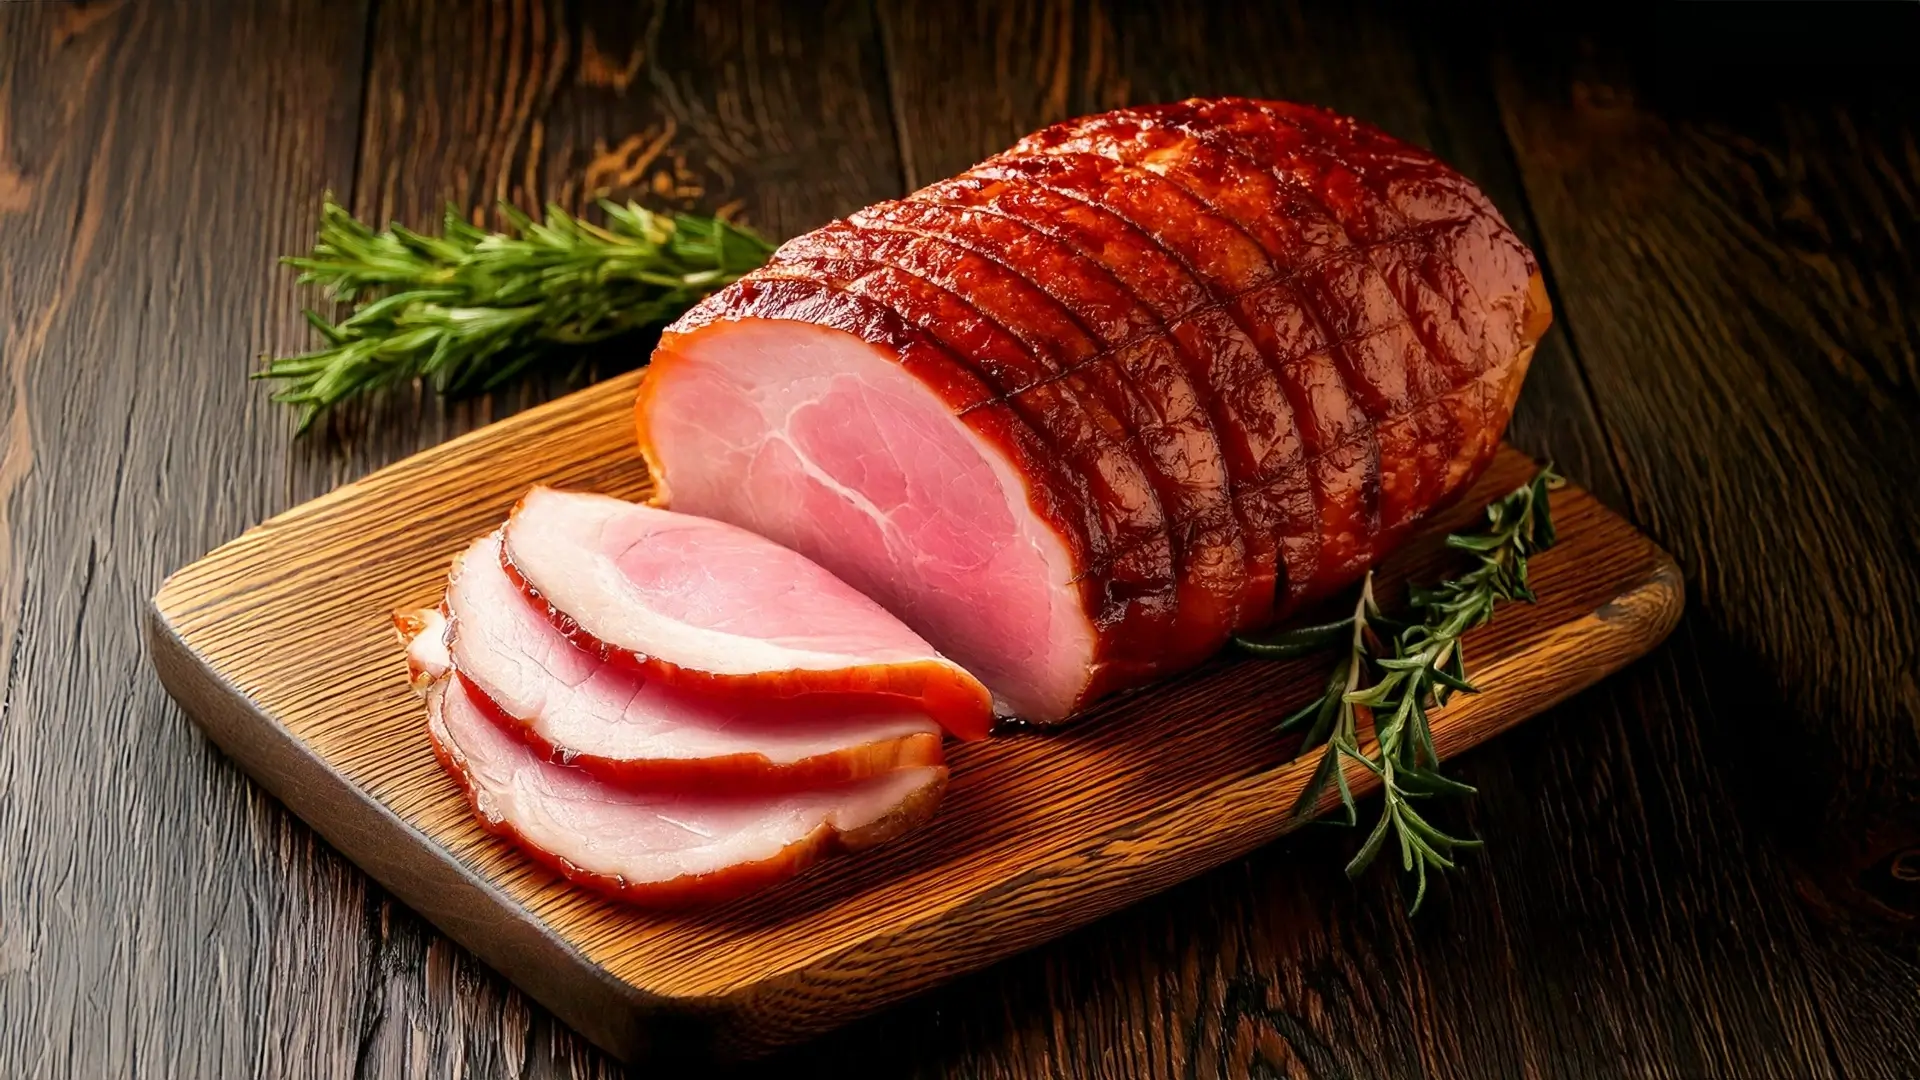
After resting, it's finally time to carve your masterpiece. Use a sharp carving knife to create thin, even slices. The meat should be tender enough to cut easily but still hold its shape beautifully on the plate.
Arrange your slices on a warmed serving platter, perhaps with a little of the glaze drizzled over the top for extra shine and flavour. Garnish with fresh herbs if desired – a few sprigs of parsley or thyme add a lovely touch of colour.
By following this step-by-step method, you'll achieve consistent, impressive results every time you cook gammon in your air fryer. The process combines the best elements of traditional cooking with modern convenience, delivering a joint that's worthy of any special occasion but simple enough for a regular Sunday lunch.
7. Serving Suggestions and Accompaniments
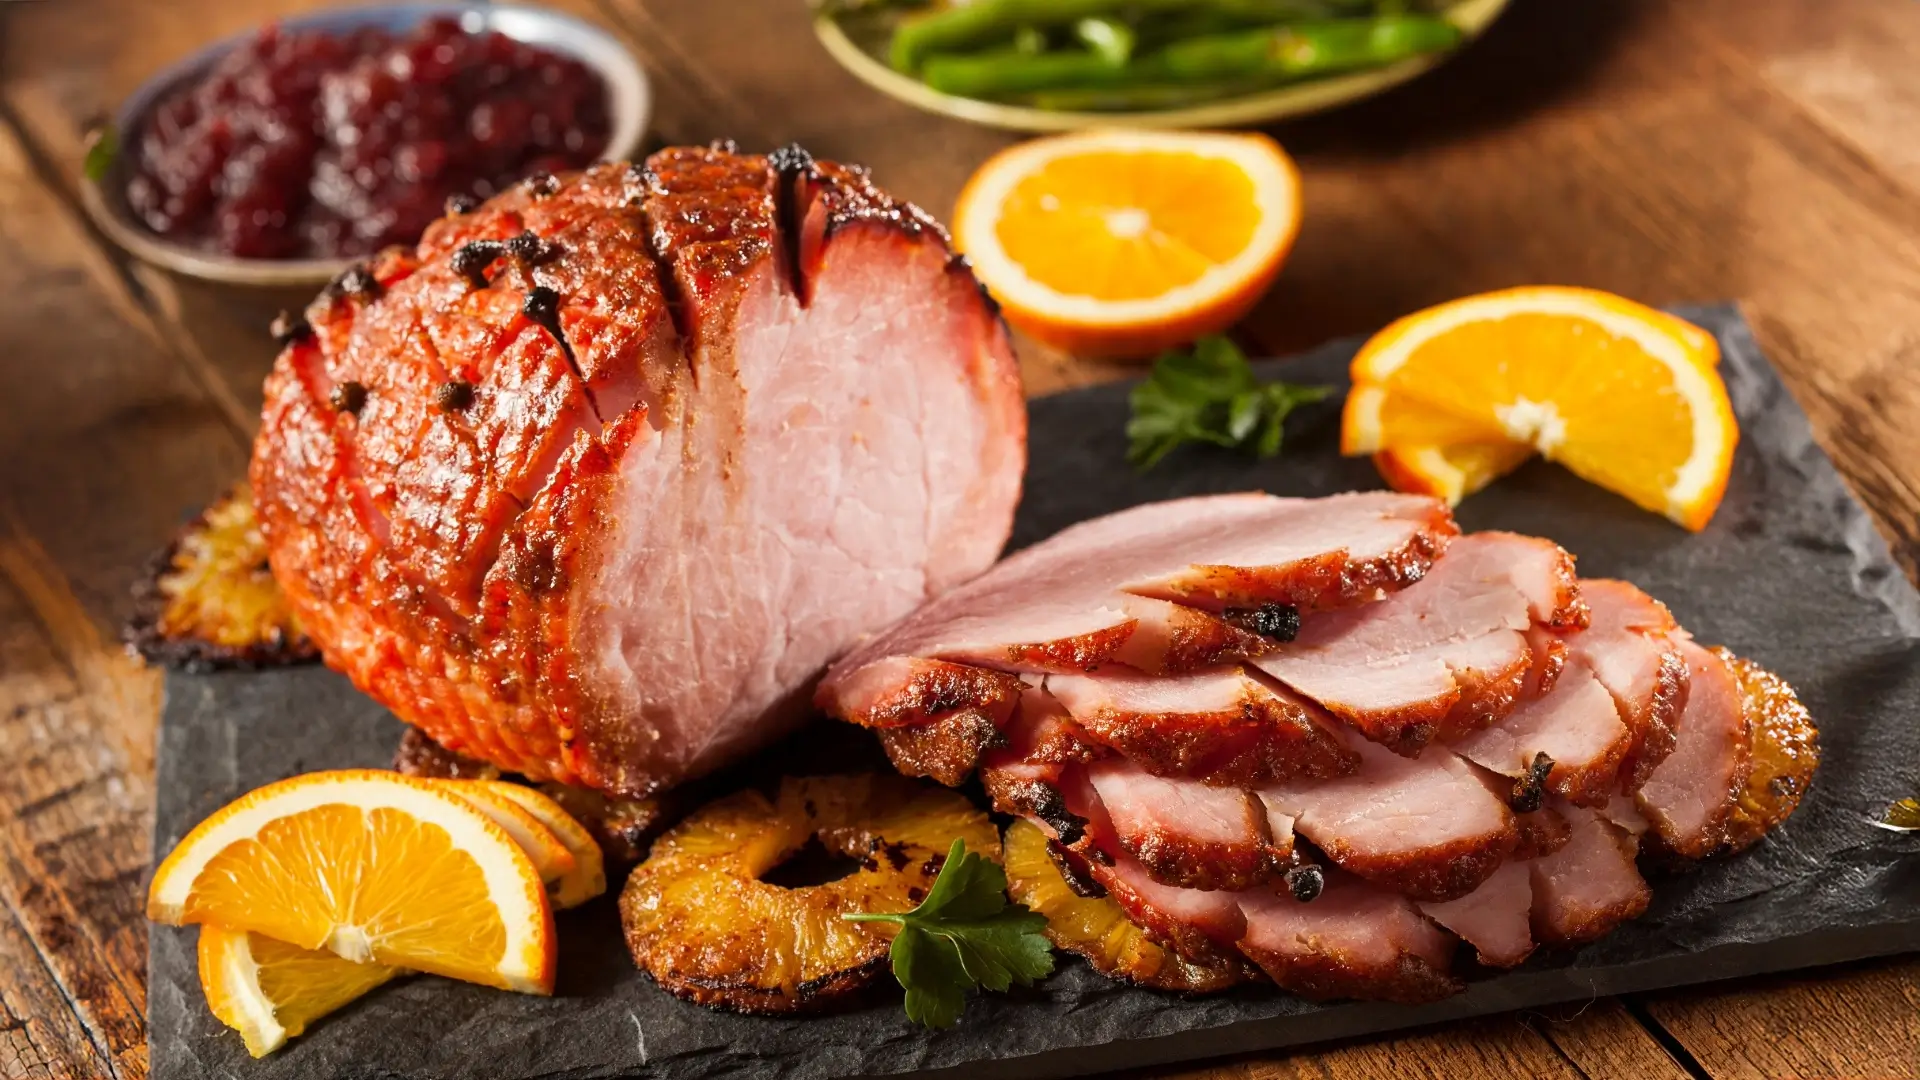
A perfectly cooked air fryer gammon joint deserves to be accompanied by sides that complement its succulent, sweet-salty character. The beauty of gammon lies in its versatility – it pairs wonderfully with both traditional British accompaniments and more contemporary offerings. Allow me to share some serving suggestions that will elevate your air fryer gammon joint for Sunday roast to truly memorable heights.
Traditional Accompaniments
In British households, certain sides have become almost mandatory partners to a good gammon joint. Foremost among these is the humble roast potato – crispy on the outside, fluffy within, and ideally roasted with a few sprigs of rosemary. The contrast between the sweet-glazed gammon and the savoury, herb-infused potatoes creates a perfect harmony on the plate.
Equally traditional is the pairing of gammon with pineapple. This combination might raise eyebrows among culinary purists, but those who dismiss it are missing a treat. The sweet acidity of pineapple – whether served as rings or in a fresh salsa – cuts through the richness of the gammon beautifully. For my pineapple salsa, I combine diced fresh pineapple with finely chopped red onion, a touch of red chilli, fresh coriander, and a squeeze of lime juice. The resulting accompaniment brings a tropical brightness that transforms your Sunday roast into something rather special.
No discussion of gammon accompaniments would be complete without mentioning the classic fried egg. There's something deeply satisfying about the way a perfectly runny yolk creates an impromptu sauce for the meat. For a slightly more elegant presentation, consider serving poached eggs alongside your gammon – the effect is similar but feels somewhat more refined for a special occasion.
Seasonal Vegetables
The vegetables you choose to accompany your air fryer gammon joint for Christmas dinner or Sunday lunch should reflect the season. In winter months, honey-roasted parsnips and carrots echo the sweetness of your glazed joint while adding earthy depth. A side of braised red cabbage with apple brings a festive touch, its gentle spicing and ruby colour making it as pleasing to the eye as it is to the palate.
In spring, tender stems of asparagus make a delightful partner to gammon, particularly when drizzled with hollandaise sauce. The grassy freshness of the asparagus contrasts beautifully with the rich meat. For summer servings, consider a vibrant pea and mint salad, dressed simply with good olive oil and lemon juice – the sweetness of fresh peas complements gammon perfectly.
Sauces and Relishes
While your glazed gammon will be wonderfully moist, a well-chosen sauce can elevate the dish further. A light parsley sauce brings a creamy, herb-infused element that works particularly well if you're serving your gammon with new potatoes. For something with more punch, consider a mustard sauce made with crème fraîche, wholegrain mustard, and a touch of honey.
Homemade apple sauce is another classic accompaniment, the fruit's tartness providing a perfect counterpoint to the rich meat. For a twist on this theme, try a spiced apple chutney with raisins and a hint of ginger – the complex flavours stand up beautifully to the robust character of the gammon.
Contemporary Twists
For those looking to move beyond traditional pairings, consider serving your air fryer gammon joint for meal prep with a grain-based salad. A mixture of pearl barley, roasted butternut squash, feta cheese, and pomegranate seeds creates a nutritious side that works wonderfully with cold sliced gammon. This combination makes for excellent packed lunches throughout the week.
Another contemporary approach is to serve your gammon with a selection of artisanal bread, pickles, and chutneys, allowing guests to create their own open sandwiches. A sourdough loaf, some quick-pickled red onions, wholegrain mustard, and perhaps a beetroot relish create a sharing feast that encourages conversation and conviviality.
Presentation Tips
The way you present your gammon can transform it from a simple family meal to a feast fit for special occasions. For festive gatherings, consider placing your glazed joint on a bed of fresh herbs – bay leaves and rosemary create a fragrant nest that enhances both appearance and aroma. Surround the meat with roasted fruits – pears, apples, or even plums work beautifully – for a display that celebrates seasonal abundance.
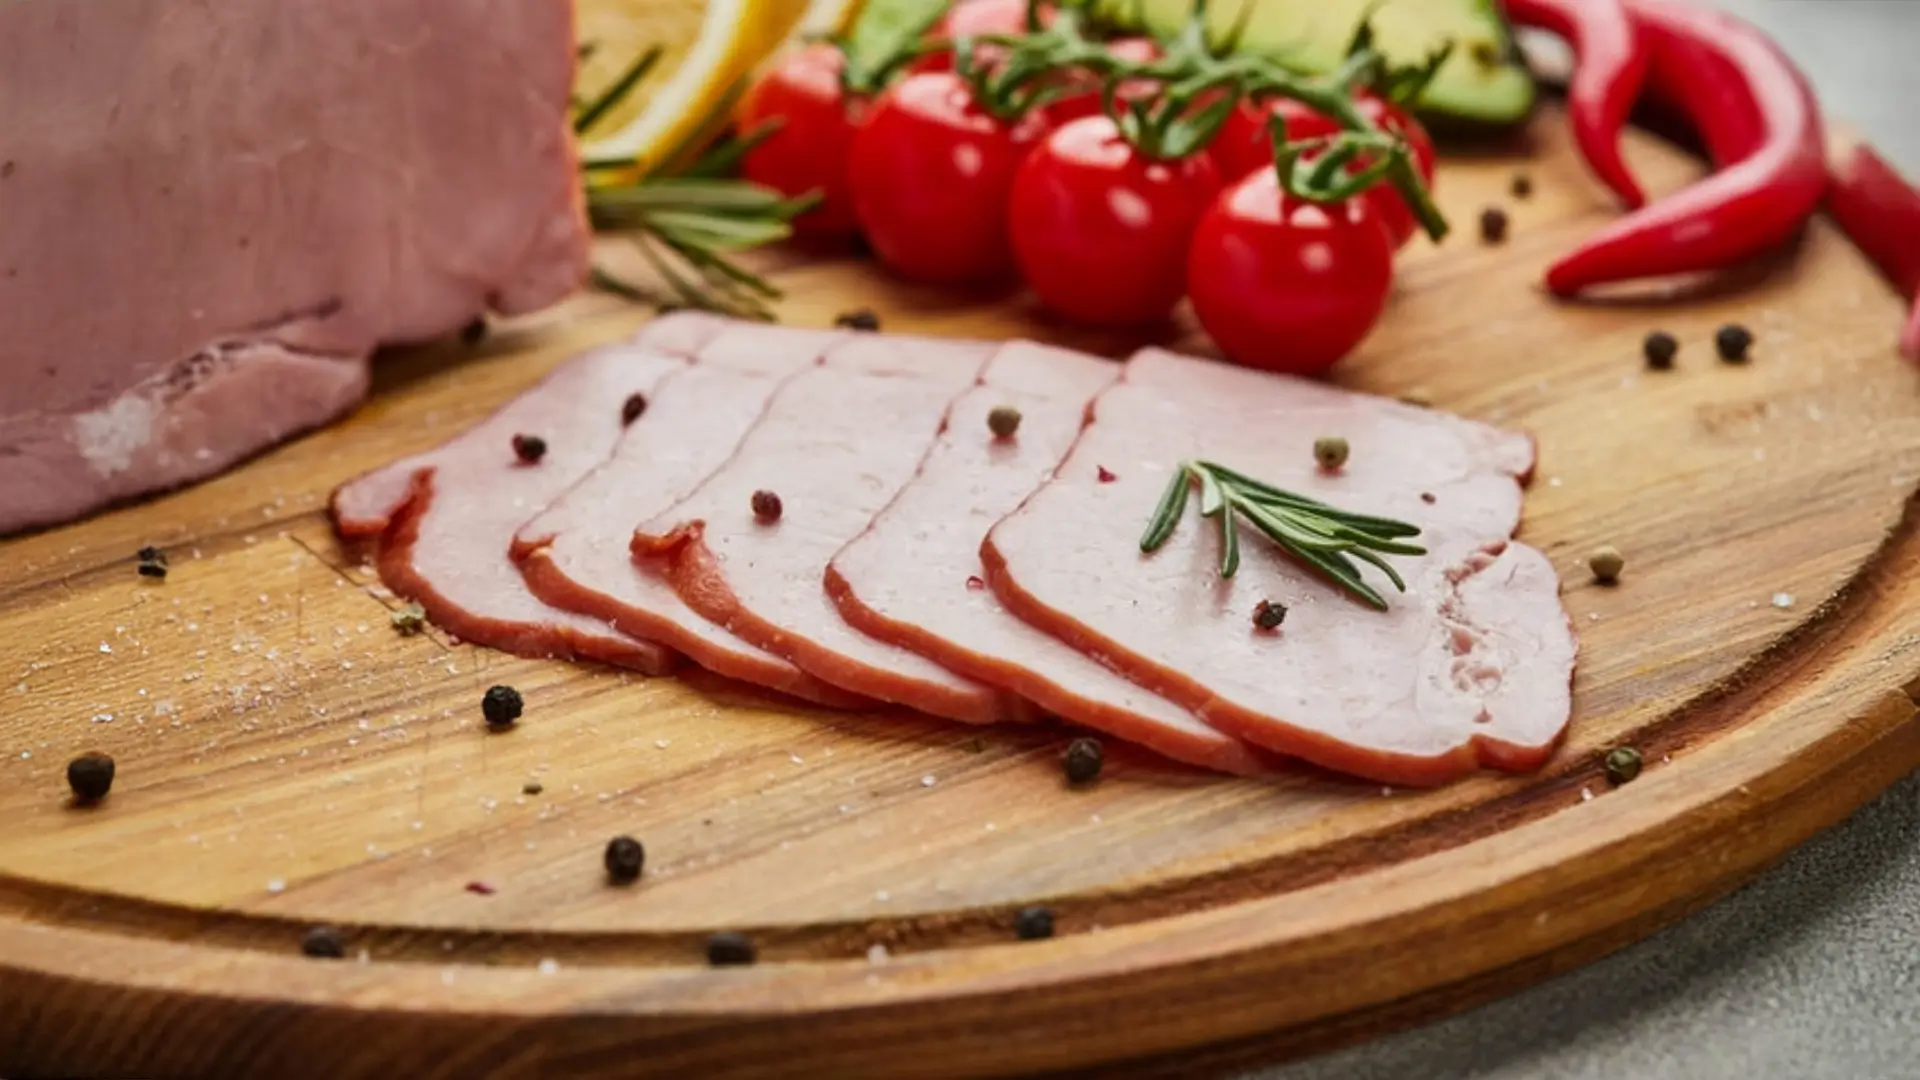
For a more rustic presentation, serve your carved gammon on a wooden board alongside small bowls of accompaniments, allowing guests to help themselves. This relaxed approach encourages sharing and creates a warm, convivial atmosphere around the table.
However you choose to serve your air fryer gammon, remember that the accompaniments should complement rather than overwhelm the star of the show. After all, you've invested time and care in creating that perfectly cooked joint – it deserves companions that allow its succulent, glazed glory to shine through.

8. Troubleshooting and FAQs
Even with the most careful preparation and timing, occasional challenges can arise when cooking gammon in an air fryer. In my years of perfecting this method, I've encountered most of the common issues and developed reliable solutions. Let me address the questions I'm most frequently asked, along with troubleshooting advice for those moments when things don't go quite according to plan.
"My gammon is too salty. What went wrong?"
This is perhaps the most common concern with air fryer gammon joint without boiling. Traditional recipes often call for boiling gammon first to remove excess salt, so it's natural to worry that the air fryer method might result in an overly salty joint.
If you find your gammon consistently too salty, consider soaking it before cooking. Submerge the joint in cold water for 30 minutes to an hour, changing the water once or twice during this time. For particularly salty joints, you might extend this soaking time to overnight in the refrigerator, changing the water several times.
Another approach is to wrap your gammon in foil with a splash of apple juice or cider during the initial cooking phase. The acidity in these liquids helps to balance the saltiness while adding a subtle fruity note to the meat.
"The fat isn't crisping up properly. How can I fix this?"
For those seeking air fryer gammon joint with crispy fat, the key lies in the final unwrapped cooking phase. If your fat isn't crisping as desired, check that you've scored it adequately – those diamond cuts should be about 5mm deep, creating plenty of surface area for rendering and crisping.
Ensure you're cooking at a high enough temperature during the final phase – 180°C (360°F) is the sweet spot for most air fryers. If you're still struggling to achieve that perfect crisp, try patting the fat cap dry with kitchen paper before applying your glaze, as excess moisture can inhibit crisping.
Some air fryer models have a 'crisp' or 'grill' function – this can be particularly effective for the final 5 minutes of cooking if you're seeking extra crispness. Just keep a watchful eye to prevent burning.
"My glaze is burning before the gammon is cooked through. What should I do?"
This typically happens with glazes high in sugar content. The solution is to apply your glaze in stages rather than all at once. Begin with a thin layer for the first part of the unwrapped cooking phase, then add additional layers as cooking progresses.
If you notice your glaze beginning to darken too quickly, you can create a small foil shield just for the top of the joint, leaving the sides exposed to continue cooking. Alternatively, reduce your air fryer temperature slightly for the final phase – 170°C (340°F) instead of 180°C (360°F) – and extend the cooking time by a few minutes to compensate.
"Can I cook a frozen gammon joint in the air fryer?"
While it's always preferable to thaw your gammon completely before cooking, I understand that life sometimes throws unexpected dinner guests our way. Yes, you can cook a frozen gammon joint in the air fryer, but you'll need to make some adjustments.
First, extend your initial cooking time by approximately 50% – so a 1kg joint that would normally require 35 minutes would need about 50-55 minutes from frozen. Keep the joint wrapped in foil for this extended initial phase.
You'll also need to be particularly vigilant about checking the internal temperature, as frozen joints can sometimes cook unevenly. Aim for that same 62°C (145°F) reading in the thickest part of the meat.
"My air fryer is quite small. Can I still cook a gammon joint?"
Absolutely! For smaller air fryers, choose a joint that fits comfortably in your basket with some space around it for air circulation. Many butchers are happy to cut larger joints into smaller portions upon request.
If you're cooking for a larger gathering but have a compact air fryer, consider cooking two smaller joints sequentially rather than attempting to squeeze a large one into a tight space. The first joint will rest while the second cooks, and both will be delicious.
"How can I tell if my gammon is cooked without a meat thermometer?"
While I strongly recommend investing in a meat thermometer for foolproof results, there are visual and tactile clues that can guide you. A properly cooked gammon should feel firm but with a slight give when pressed. If you insert a skewer into the thickest part, it should go in easily, and the juices that run out should be clear rather than pink.
Another test is to gently pull on the bone (if your joint has one) – in a perfectly cooked joint, the bone should feel like it's beginning to loosen from the meat.
"Can I use the air fryer method for gammon steaks as well as joints?"
Indeed you can! Gammon steaks cook beautifully in the air fryer, though with much shorter cooking times. For a typical 2cm thick gammon steak, preheat your air fryer to 180°C (360°F), then cook for approximately 8-10 minutes, turning halfway through. Apply any glaze during the final 2-3 minutes of cooking.
This makes for an incredibly quick weeknight dinner, particularly when paired with air-fried pineapple rings and a simple salad.
By addressing these common concerns and questions, I hope to have given you the confidence to tackle any challenges that might arise during your air fryer gammon adventures. Remember that each air fryer model has its own quirks and characteristics – part of the joy of cooking is getting to know your equipment and adapting techniques to suit your specific circumstances.

9. Why Air Fryer Gammon Is a Game-Changer
As we reach the end of our culinary journey together, I find myself reflecting on the remarkable transformation in my own kitchen since discovering the energy efficient way to cook gammon joint using an air fryer. What began as a curious experiment has become my preferred method for preparing this British classic, and I hope I've convinced you to give it a try.
The benefits of cooking gammon in an air fryer extend far beyond mere convenience, though that alone would be reason enough to make the switch. The reduction in cooking time compared to traditional methods means you can enjoy a succulent Sunday roast without spending half the day in the kitchen. On particularly busy weekends, I've found myself grateful for those extra hours freed up for family time or simply putting my feet up with a good book and a cup of tea.
The energy efficiency of air fryer cooking shouldn't be overlooked either. In these times of rising energy costs, the ability to prepare a magnificent joint of meat without heating a large oven represents a genuine advantage. The air fryer uses a fraction of the electricity of a conventional oven, making it not only a culinary choice but an economical one too.
Perhaps most importantly, however, is the quality of the results. The air fryer creates the perfect environment for gammon to cook evenly, with the circulating hot air ensuring that wonderful contrast between moist, tender meat and a gloriously caramelised exterior. The controlled environment allows glazes to develop their full potential, creating that sticky, glossy finish that makes a well-cooked gammon joint so irresistible.
The versatility of air fryer gammon extends beyond the Sunday table. As I mentioned earlier, a good-sized joint provides the foundation for multiple meals throughout the week. From sandwiches that transform Monday's lunch break into something special, to diced gammon adding smoky depth to a midweek pasta dish or salad, the gift of this cooking method continues to give long after the initial meal.
For those new to air fryer cooking, gammon is the perfect introduction – forgiving enough for beginners yet capable of producing results that will impress even the most discerning guests. The techniques you've learned here – temperature control, timing based on weight, the importance of resting – will serve you well as you explore other cuts and recipes in your air fryer.
I encourage you to experiment beyond the guidelines I've shared. Perhaps you'll create a signature glaze that becomes your family's new favourite, or discover a particularly brilliant accompaniment that complements the sweet-salty character of gammon perfectly. Cooking is, after all, a personal expression – these techniques provide a foundation, but the final touches should reflect your own taste and creativity.
If you're preparing gammon for a special occasion, remember that presentation matters almost as much as taste. A beautifully glazed joint, properly rested and carved into thin, even slices, makes a spectacular centrepiece for any table. Garnish with fresh herbs, surround with seasonal vegetables, and watch your guests' eyes light up as you bring it to the table.
For everyday meals, embrace the simplicity that air fryer cooking offers. A gammon joint with minimal accompaniments – perhaps just some crusty bread and a simple salad – can be on the table with remarkably little effort, yet still provide that deeply satisfying experience that good food brings.
As you embark on your own air fryer gammon adventures, I hope you'll discover the same joy I've found in this method. There's something deeply satisfying about taking a traditional favourite and reinventing it for modern life without sacrificing any of its essential character. The air fryer doesn't compromise the gammon experience – it enhances it, making it more accessible for busy lives while maintaining all the qualities that have made this cut a beloved staple of British dining for generations.
So heat up your air fryer, select a beautiful joint of gammon, and prepare to be converted to this game-changing cooking method. Your Sunday roasts will never be quite the same again – and that, I promise you, is a very good thing indeed.